
As the package says, a "Fuel Gauge for Your Battery"
In talking with Xantrex support, going over the details of the proposed installation, I asked if I was forgetting anything. They suggested the battery monitor, so here it is. We'll see, over time, if it proves to be valuable...
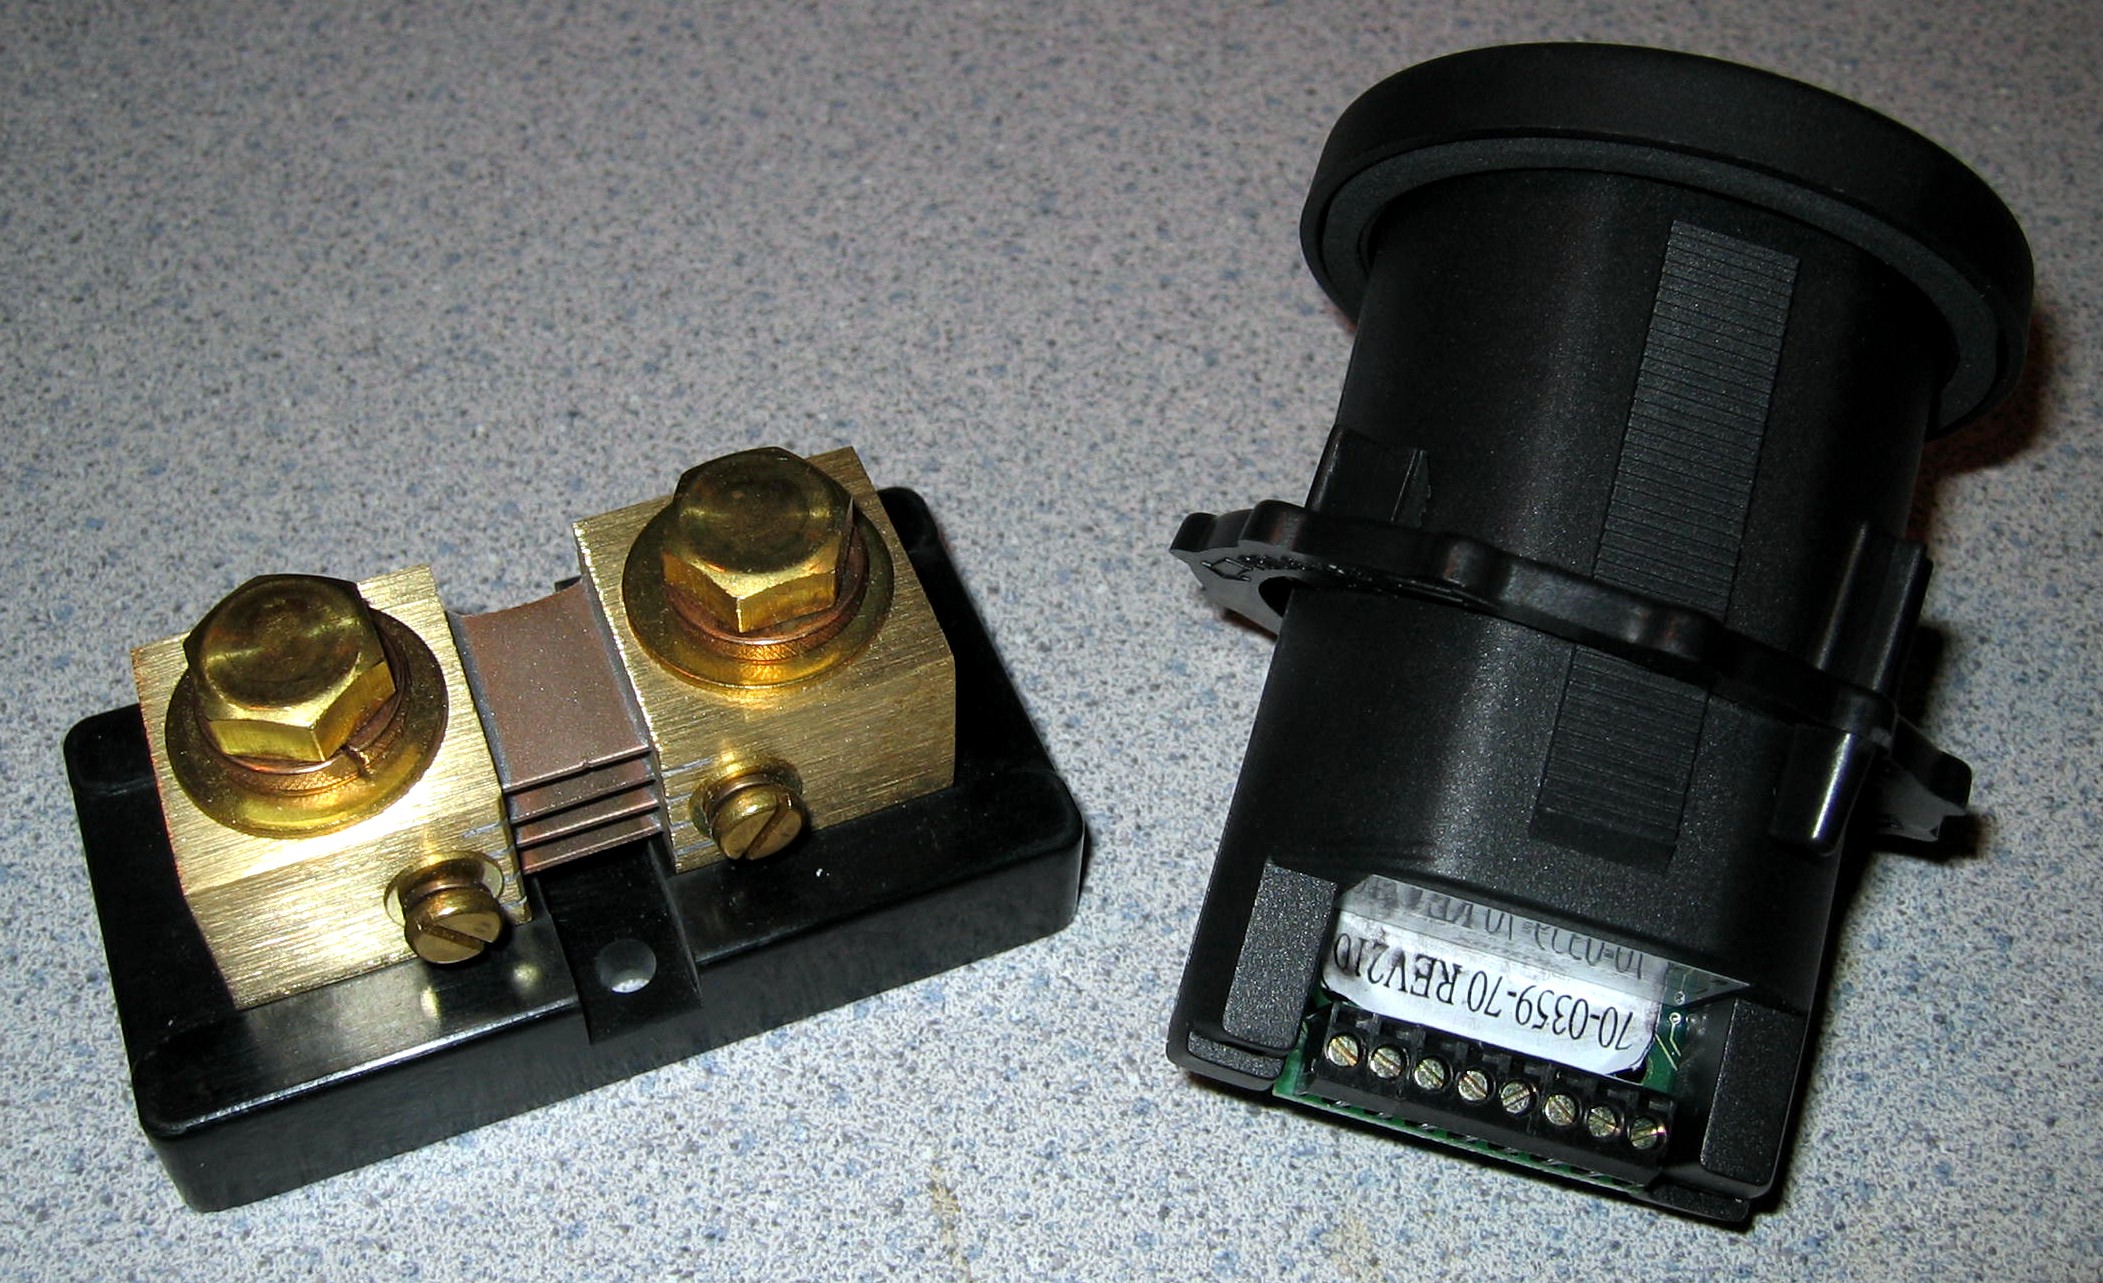
The system depends on a component, a shunt, that goes in line with the negative side of the battery. The device presents a very small load to the system and provides information to the gauge for interpretation. The brassy item in the picture is the shunt, and goes near the battery (bank.) The black item is the gauge and electronics package. The view here is from the rear, showing the terminal strip for connection.
Below is the Link 10 wiring diagram
Xantrex support confirmed 18 AWG wire is adequate for the 30’ run required. The twisted pair should be twisted at two twists per inch. The two connections shown from the battery’s positive terminal to pins four and five on the meter can be combined and protected with a single, 2 amp, fuse.
Color code for this installation is:
|
Meter |
Color |
Equipment |
|
1 |
Black |
Shunt, load side, main terminal |
|
2 |
Green |
Shunt, sensor, battery negative |
|
3 |
White |
Shunt, sensor, load negative |
|
4 - 5 |
Red |
Battery + ( 2 amp fused ) |
Link 10 Manual (.pdf)
Link10 Wiring Diagram (.doc)